23 February 2016

Watch me DIY!

By DIY in this case I mean paint. Here is what happened.

The other night Jason and I were sitting on the couch going over the last pieces of the mudroom project. He said, "And then on Monday when you get home I'll paint the ceiling." I said, "You know what, I don't think so. I'LL paint the ceiling - YOU can take the boys around the block on their bikes, feed them dinner, do the dishes, pick up all the toys, put the laundry in and give them their bath and I'LL peacefully paint away in the next room, listening to music and thinking about all the compliments I am going to get."

Because that's how our projects typically go. Jason has all the fun with the tools and I get stuck with all the regular chores plus the boys. It's just not fair and I was taking action. I could paint a ceiling, right? How hard could it be? Yep I was doing it. I believe Jason's exact words were "I can't WAIT to see you paint the ceiling. Oh, this is going to be so great. I guarantee this makes more work for me in the end, but I totally can't WAIT to see this."

He thought I was going to quit, or royally mess it up, or both, which of course made me more determined than ever. I told him there hasn't been a ceiling like this since the Sistine Chapel, you just wait!

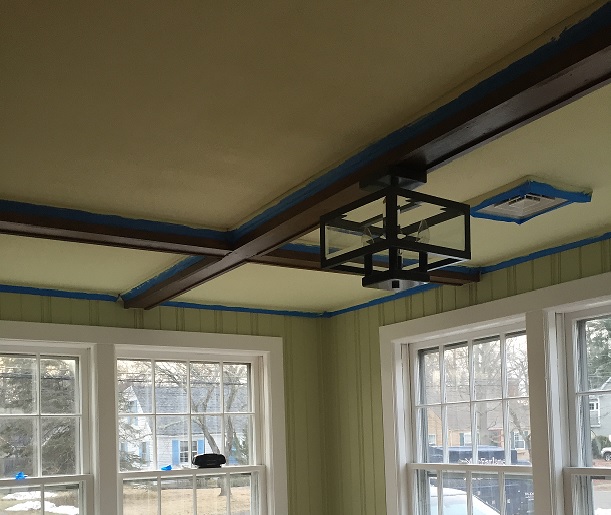
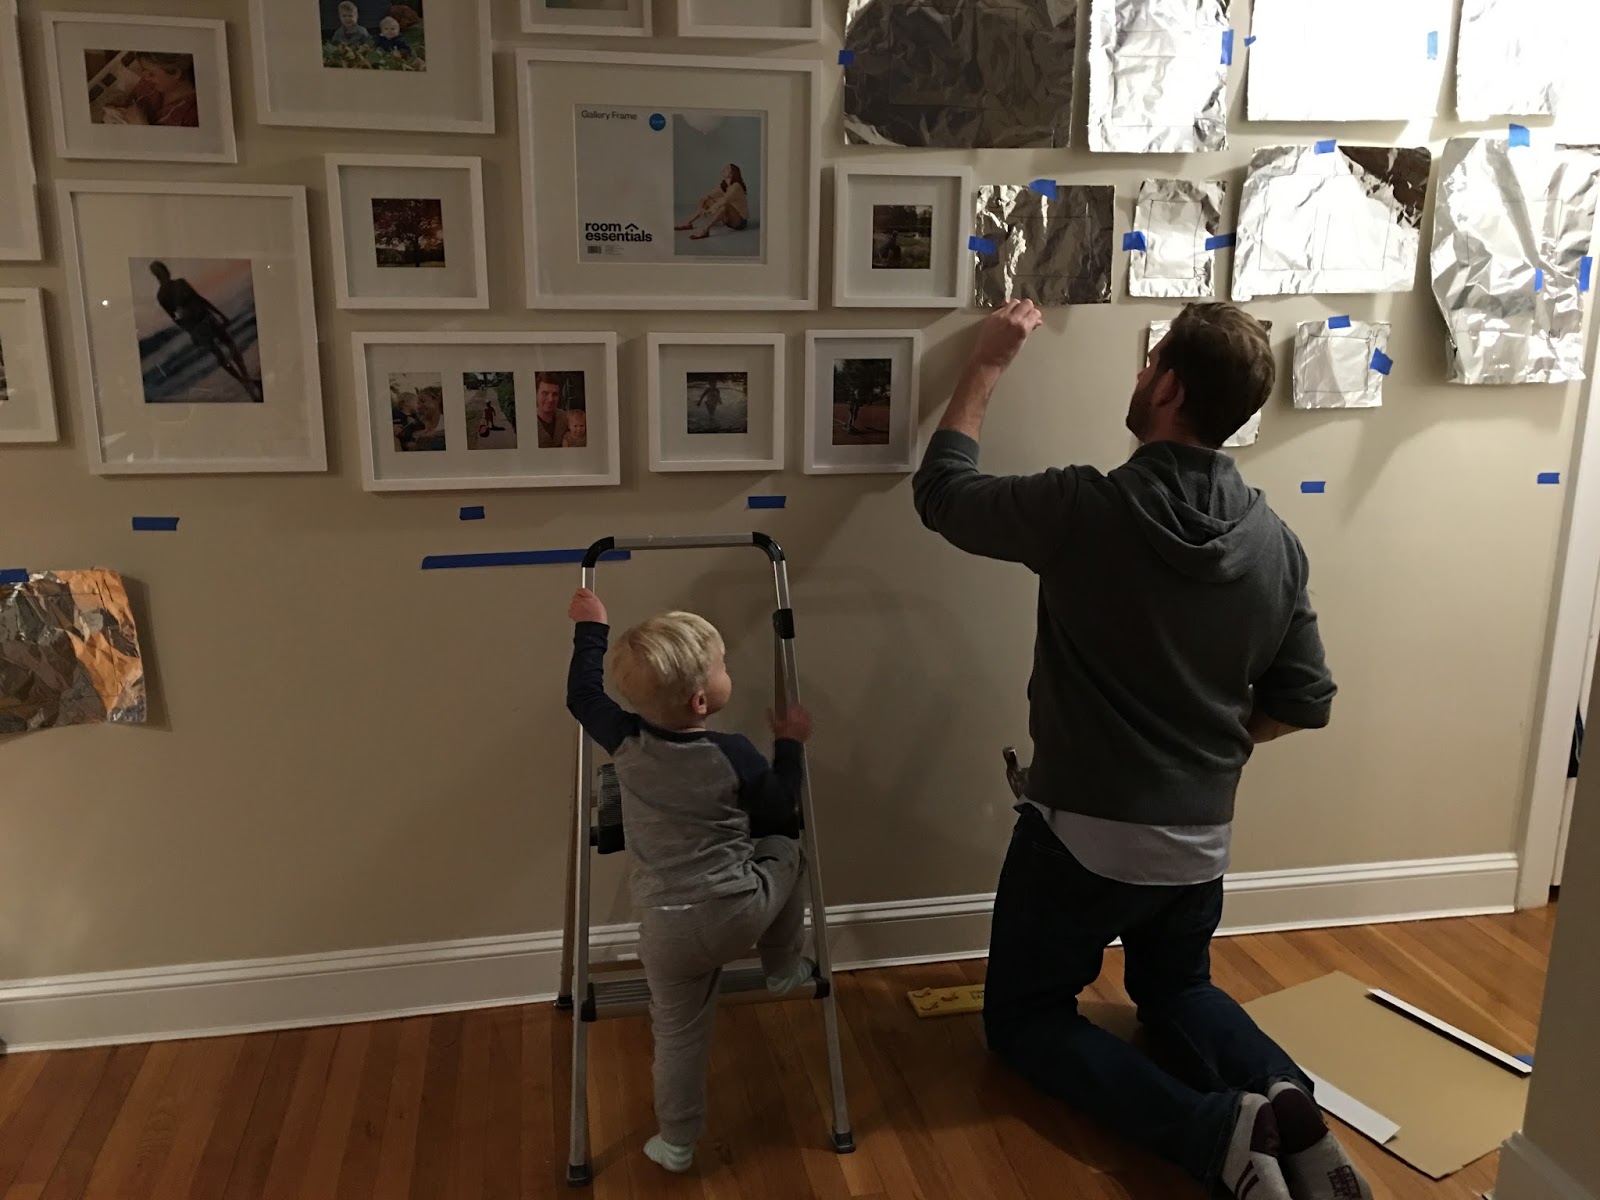
So there I was. The ceiling is 6 big squares and then a few small ones, all separated off by the beams. We had put sample color blocks in a few spots to try and figure out if we should do it at 25% or 50% of the wall color (50% was the winner - the color is Shagreen by SW) but other than that, it was a blank slate. I started by trying to cut in using just the brush and my impeccable skill, but after roughly 45 seconds I realized I needed the painters tape and I needed it bad. Is that cheating? Oh well. I took a break to tape the moldings and beams off. (And yes, I absolutely made Jason take my picture! This was history happening.)


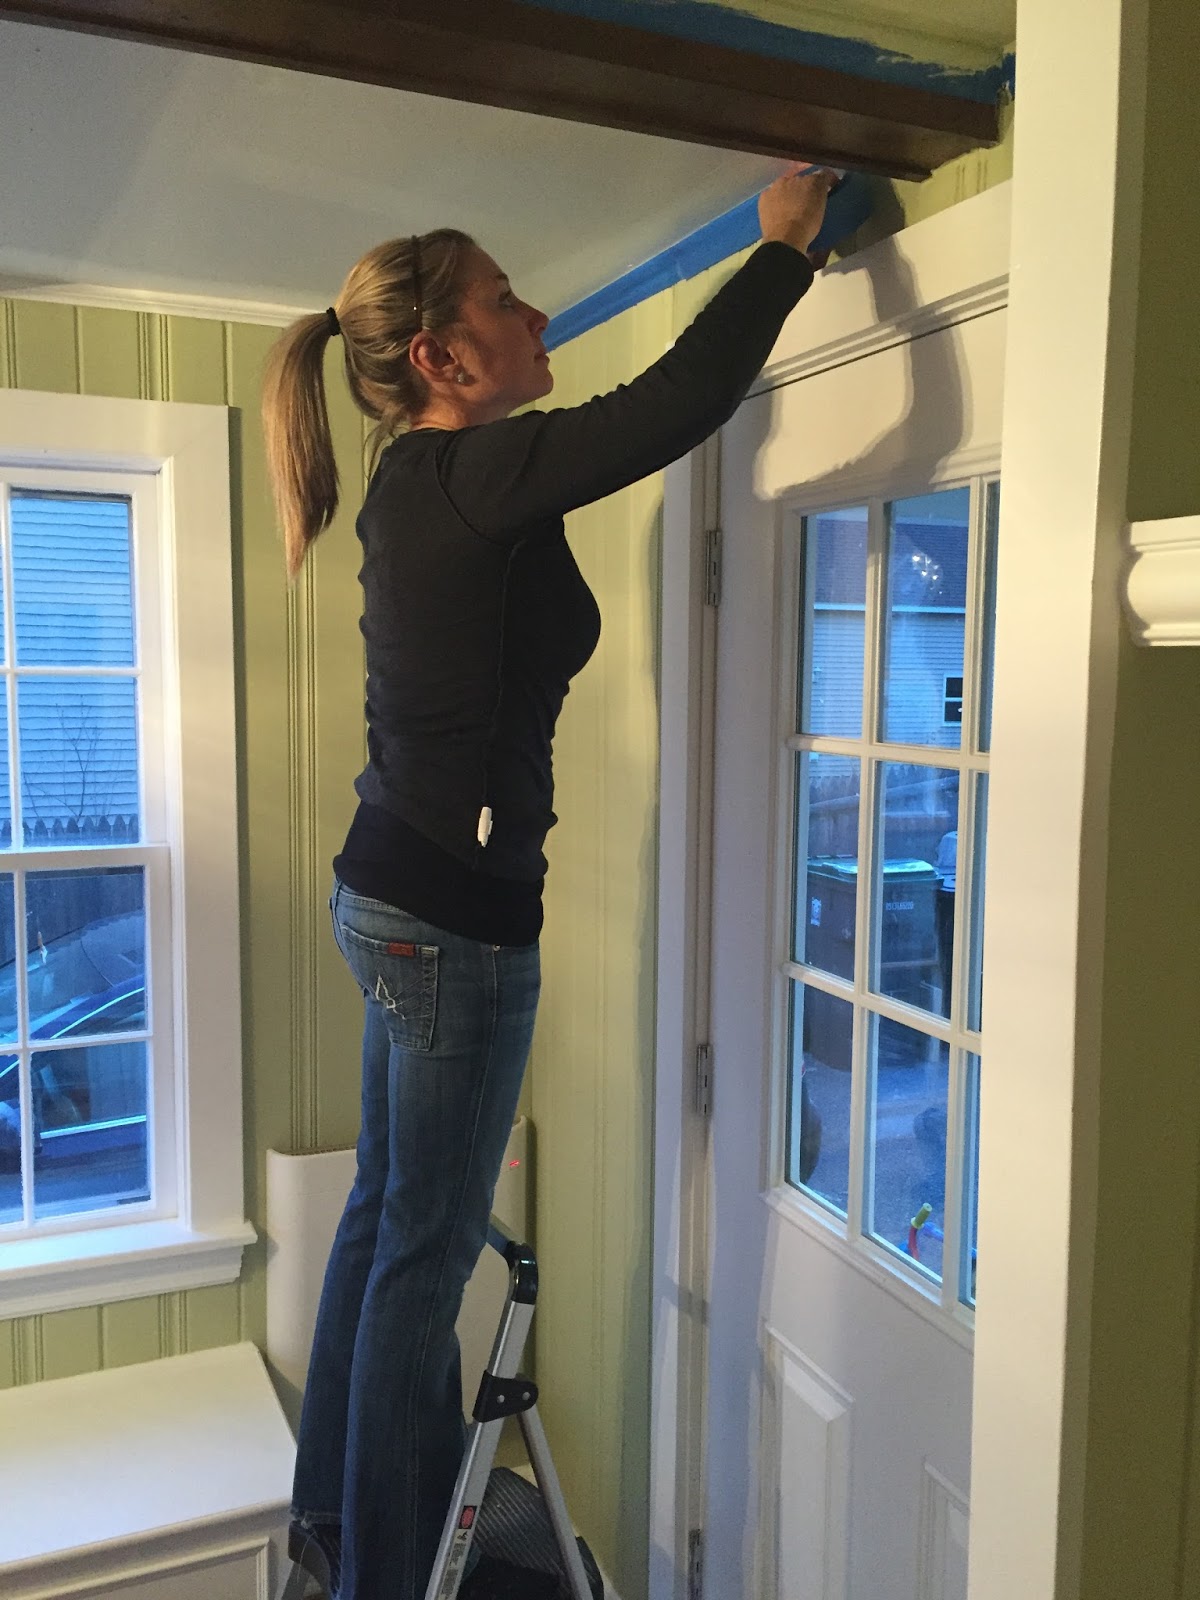
Darkness fell but I pressed on! Jason brought me a Coors Light and at that point I knew I had joined the ranks of the real painters. Michelangelo who?


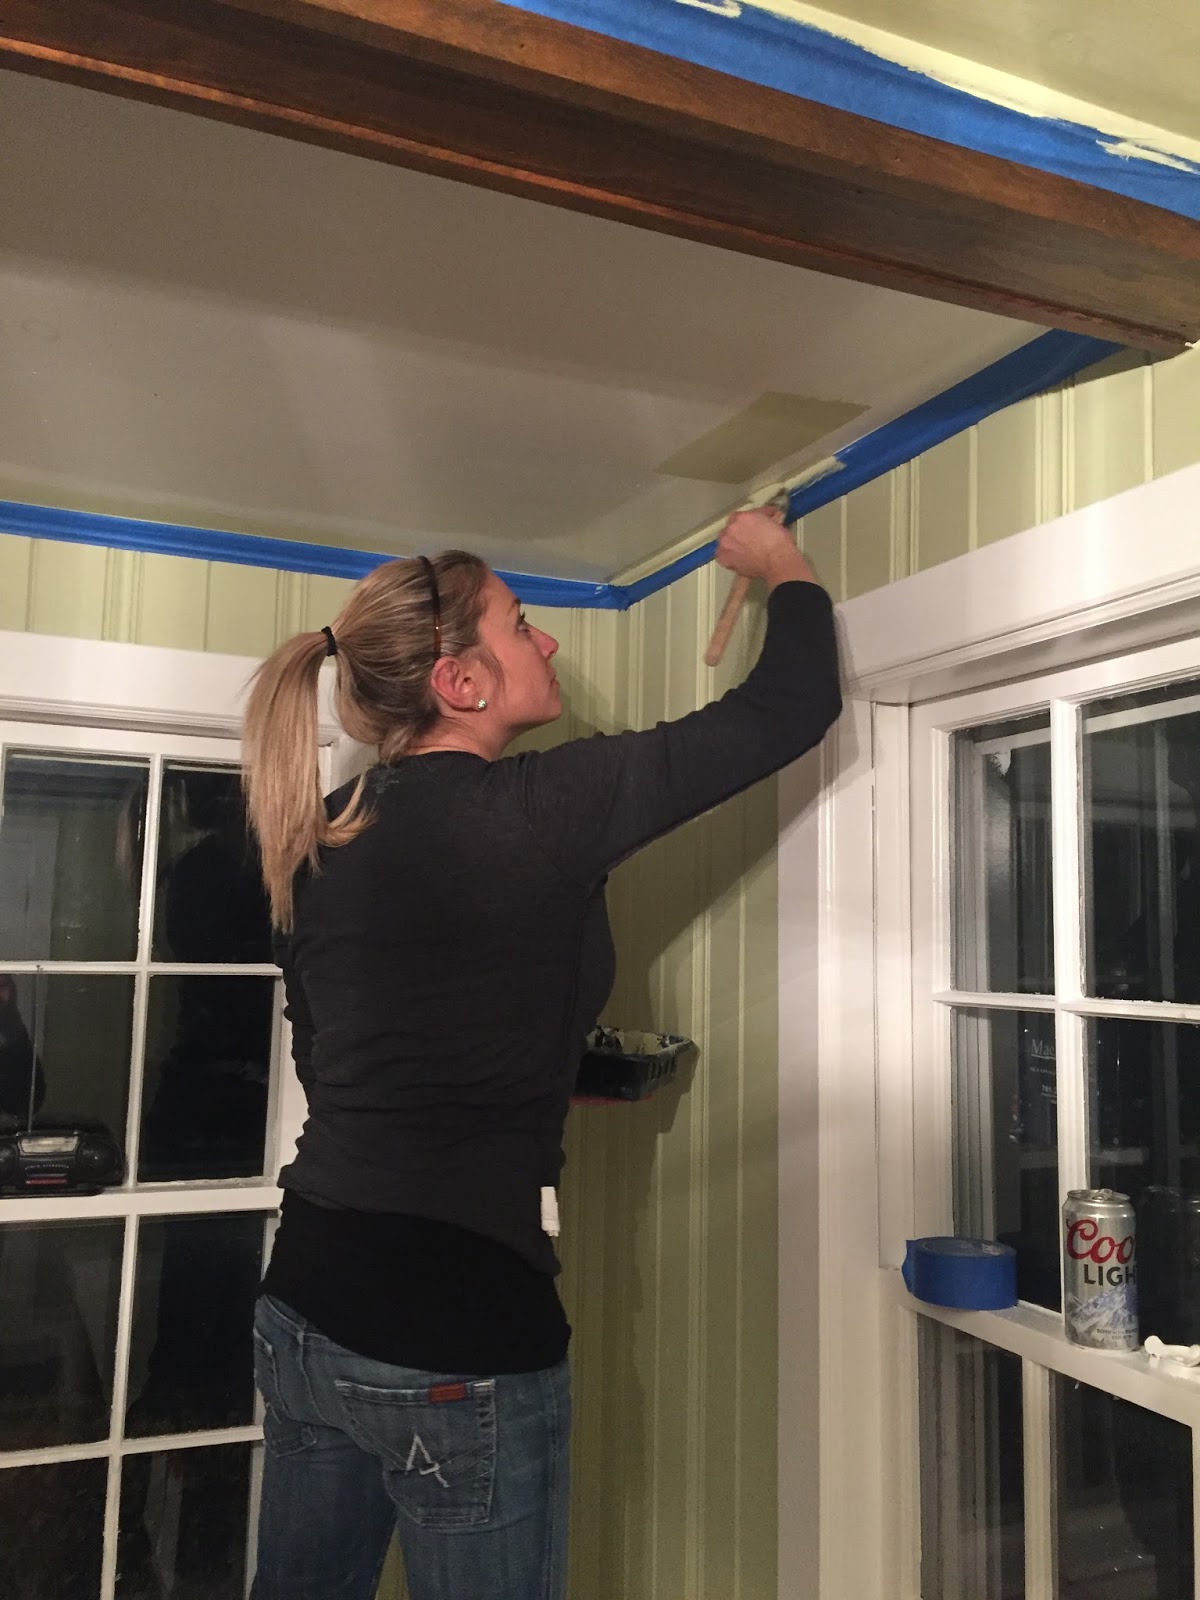
Overall, for someone who has never painted a thing, I was very proud. I used the brush for all the edges and a mini roller for the main areas. Sure there were a couple glops and a few lines but the ceiling wasn't perfect to begin with. I emerged triumphant from the mudroom, sore and with a crook in my neck, but after 2.5 hours I was finished! I kissed the boys' heads, danced around the kitchen and said wait until you see what Mommy did! 

Until Jason, naysayer that he is, said, "Wait, you're not done! What about the second coat?" 
"What?! No no, it's perfect."
"Babe, you definitely need to do a second coat."
"Really? My arm hurts though."
"Yes!!"
"Fine I will, but I can't right now because it's not dry yet."
"I guarantee that the section you started with is!"
"No I'm sure it's not."
"IT IS!"

Sigh.

Siiiiiigh.

You can maybe guess what happened. Jason finished it.
But I had already done ALL the work basically. I'll save the final reveal sans tape for the complete mudroom post, but look at this beauty!


Whoops, heh heh. Wrong one ;)

12 February 2016

How I: designed our new photo wall

Notice I did not title this post "How To". I presume there are a lot of different ways to do this but this is how I happened to accomplish it and thought you might want to know.

Step 1. Figure out where you want to put it. Quite an obvious Step 1 and for me, this was easy. We have a big long wall that separates the old part of the house from the new part of the house. It goes under the stairs and it is just dead space. Frame wall, here I come!


Step 2. Get your frames together. I've made one of these before, so I basically was all set in this area to start. But if you haven't, ask yourself: Are you eclectic and/or artsy? I'm not, so all my frames needed to match. Lots of people make walls with all kinds of mediums and do not limit themselves to photos only, but let's be serious, I need the limits. So I had previously chose some different white Pottery Barn frames, those Target Room Essentials frames, and a couple of sets of these to make my wall. The whites all match and the frames are varying thicknesses so it looks good. But I have no idea how to tell you how many frames you'll need - depends on how many bigs and smalls you've got :-/

Step 3a. Using your trusty tinfoil, make molds of each frame that you have.


Step 3b. Use Post-it's to number them as you go. I didn't have any so I just improvised, but make sure to come up with some kind of tracking system so you know which frame goes with which "mold".

 * Helpful hint: Use your sharpie to draw a rough estimate of the photo opening on the foil. Some of my frames have large mats, some small, some have 2 or 3 pictures per frame, so it's good to know how to distribute those elements evenly as you go along. I forgot to do this until the end.


Step 4. Put your frames in a safe place, and try not to pile them on top of each other because they'll chip or get dinged somehow. Been there.

Step 5. The design part. Gather all your foil squares and some painter's tape and start sticking.


Not quite sure why I look so fat in that picture. Unless it's true that art imitates life in which case...lol.

Anyway, it's a lot of trial and error, I'm not going to lie. You want to have all your shapes evenly distributed, with not too much space variance between all the frames. The painters tape really comes in handy here. I knew there was no way I was going to get all of these in a perfect block, so I decided that some jagged edges in the overall design were ok in the end.


Step 6. Finally tell your husband it's time to hang the frames. Make sure it is 5 pm on Superbowl Sunday. Assure him there is a hard 6:30 pm stop time and he's allowed to drink beer while he does it. Work down the line and replace each foil square according to the matching frame number. Rocket science, this is not.


See that posture? It says, "I'm not thrilled right now." When picture-hangers display this kind of negative attitude, send in children to slow things down. Heh heh.


This is accomplished by:
* having to explain what he is doing
* having to explain why he is doing it
* children then wanting their own tools and belts
* using said tools to bang obnoxiously on the walls and the floors
* leading imaginary repairs on the step stool.


We got about half way through before kick off. The next set of installations went similarly, and in fact, if you want to know why things take 150% longer when you have kids, watch this video. "Your drill is going there, brotha!" I was dying laughing.


Step 7. All my frames were pre-filled from my last photo wall, but I do have some new ones to switch out and a big 11x14 print coming for the middle. So get yourself some 4x6's, 5x7's, and 8x10's  (I use mpix.com - not the cheapest out there but the quality is awesome, in my opinion) and get yourself one of these picture hanging tools from Home Depot. It will help immensely.

Step 8. Admire your before and after!


It's not perfect but it's perfect enough. That blue dotted tape line marks the top of the chair rail/board and batten/wainscoting/whatever I eventually decide on for the bottom section of the wall. It's going to go around the whole room and up the stairs. Someday! Jason's sort of busy ;)

11 February 2016

February Blues

This blog gets pretty skinny this time of year. Not a lot of things to report, you know, besides winter. I have been focusing on small things around the house, the mudroom walls are painted, the bench cushions are being made, and in another couple of weeks it will be considered ★ finished!  Also, the photo wall is up so I can do a post on that pretty soon, and I finally found some window treatments for our family room. Of course, they were in TJ Maxx, and I needed five pairs, so the great "call around to every store in the greater Boston area trying to track them down" project commenced. Finding these were an obsession. I actually ventured out in the storm during the snow day this past Monday to buy some that were *only* going to be on hold for me until the end of that day. So I had to go there. In the end, I found 5 pairs in 3 stores = success. But because I can't do anything that is easy, they all have to be hemmed and cut to various widths, which will definitely cost more than the panels themselves. Ahhh the irony. But they are worth it. I had previously picked out a fabric from a fabric store and the quote to have them made and installed was $6,000. That's, six.thousand.dollars. They would have been gorgeous but, not in my budget right now, so the $34.99 ones from TJ's looked pretty good, even if it's another $50 to alter them (which, uh, it is). I'll post a picture when they are up, probably in about a year because now I need to pick rods and finials and who knows how long that will take.

So overall, as you can see, things are quite boring. And predictable: we have been getting some snow and people have been getting sick. Last Friday, for some terrible reason, both Bentley and Belmont did not close like the rest of the state, which means I had work and Ashton had school. After I dropped Ashton off, I only stayed at work for a few hours before deciding we really needed to get home. So I picked him up and we basically slid back to Natick, the roads were so dangerous, the snow was super heavy too so there were tons of big branches down. But after the snowstorm passed around 4:30 and right as Jason finished snowblowing, the sun came out and it was simply gorgeous. The light touched the tops of all the trees in our neighborhood and everything was glistening white, it was honestly breathtaking - something I totally could not capture but I tried.


(See the sunroom on the left side of the house? That's the new mudroom - the windows have blue painters tape on them because Jason sprayed all the mullions, sills, etc. white. Also see how low the power lines were?? The snow was that heavy!)


We took a walk around the block with the boys and that's when the sky started to turn pink, which reflected off the snow, so the whole world seemed to have a blush hue.


And then the sunset.


No filters on any of those! Beautiful.

What was not beautiful was Alex. The next day, Saturday, marked the 4th day Alex had been sick. He just walked around the house crying and spent long periods of time sleeping on me :(


Which NEVER happens. So Saturday morning I finally took him to the pediatrician. His cold was so bad he had mucous oozing out of the corners of his eyes. He would wake up with his whole face crusted over practically - yuck, TMI, sorry. But turns out he had a double ear infection and he's been on antibiotics since.

We survived until Monday which was another snowstorm and official snow day. That one was kind of blustery and not so pretty at the end. I didn't take any pictures.

Wednesday, yesterday, Ashton was finally back to school. We geared up for a regular day, I drove him to school, walked him into his class, hung up his coat and...he puked right there on the floor. So, I unhooked his coat, walked him back to the car, and drove him home. Sigh. But he was actually totally fine after that, he ate normally and played all day and even constructed this masterpiece.


While Alex snacked on snowballs.


So who knows.

Whaaaaat else. Brae Burn's three week shut down officially ends tomorrow, so Jason will be leaving me to go back to work and I won't see him again until this time next year (haha). It's been so nice to have him home at night and on the weekends and I know the boys have loved it too. Ashton was supposed to have his first ski lesson this coming Sunday but it is supposed to be A degree. Like, one. Uno. Single. Not sure what I'll do there.

That wraps it up for mid-February. I have to finish Ashton's class valentines tonight, I get to go see new Baby Hugh on Saturday, and next week is school vacation week and Jen is away (yikes). But I'll worry about that when I have to.

Choo-choo! This train just keeps on chugging ;)