
Step 1. Figure out where you want to put it. Quite an obvious Step 1 and for me, this was easy. We have a big long wall that separates the old part of the house from the new part of the house. It goes under the stairs and it is just dead space. Frame wall, here I come!

Step 2. Get your frames together. I've made one of these before, so I basically was all set in this area to start. But if you haven't, ask yourself: Are you eclectic and/or artsy? I'm not, so all my frames needed to match. Lots of people make walls with all kinds of mediums and do not limit themselves to photos only, but let's be serious, I need the limits. So I had previously chose some different white Pottery Barn frames, those Target Room Essentials frames, and a couple of sets of these to make my wall. The whites all match and the frames are varying thicknesses so it looks good. But I have no idea how to tell you how many frames you'll need - depends on how many bigs and smalls you've got :-/
Step 3a. Using your trusty tinfoil, make molds of each frame that you have.
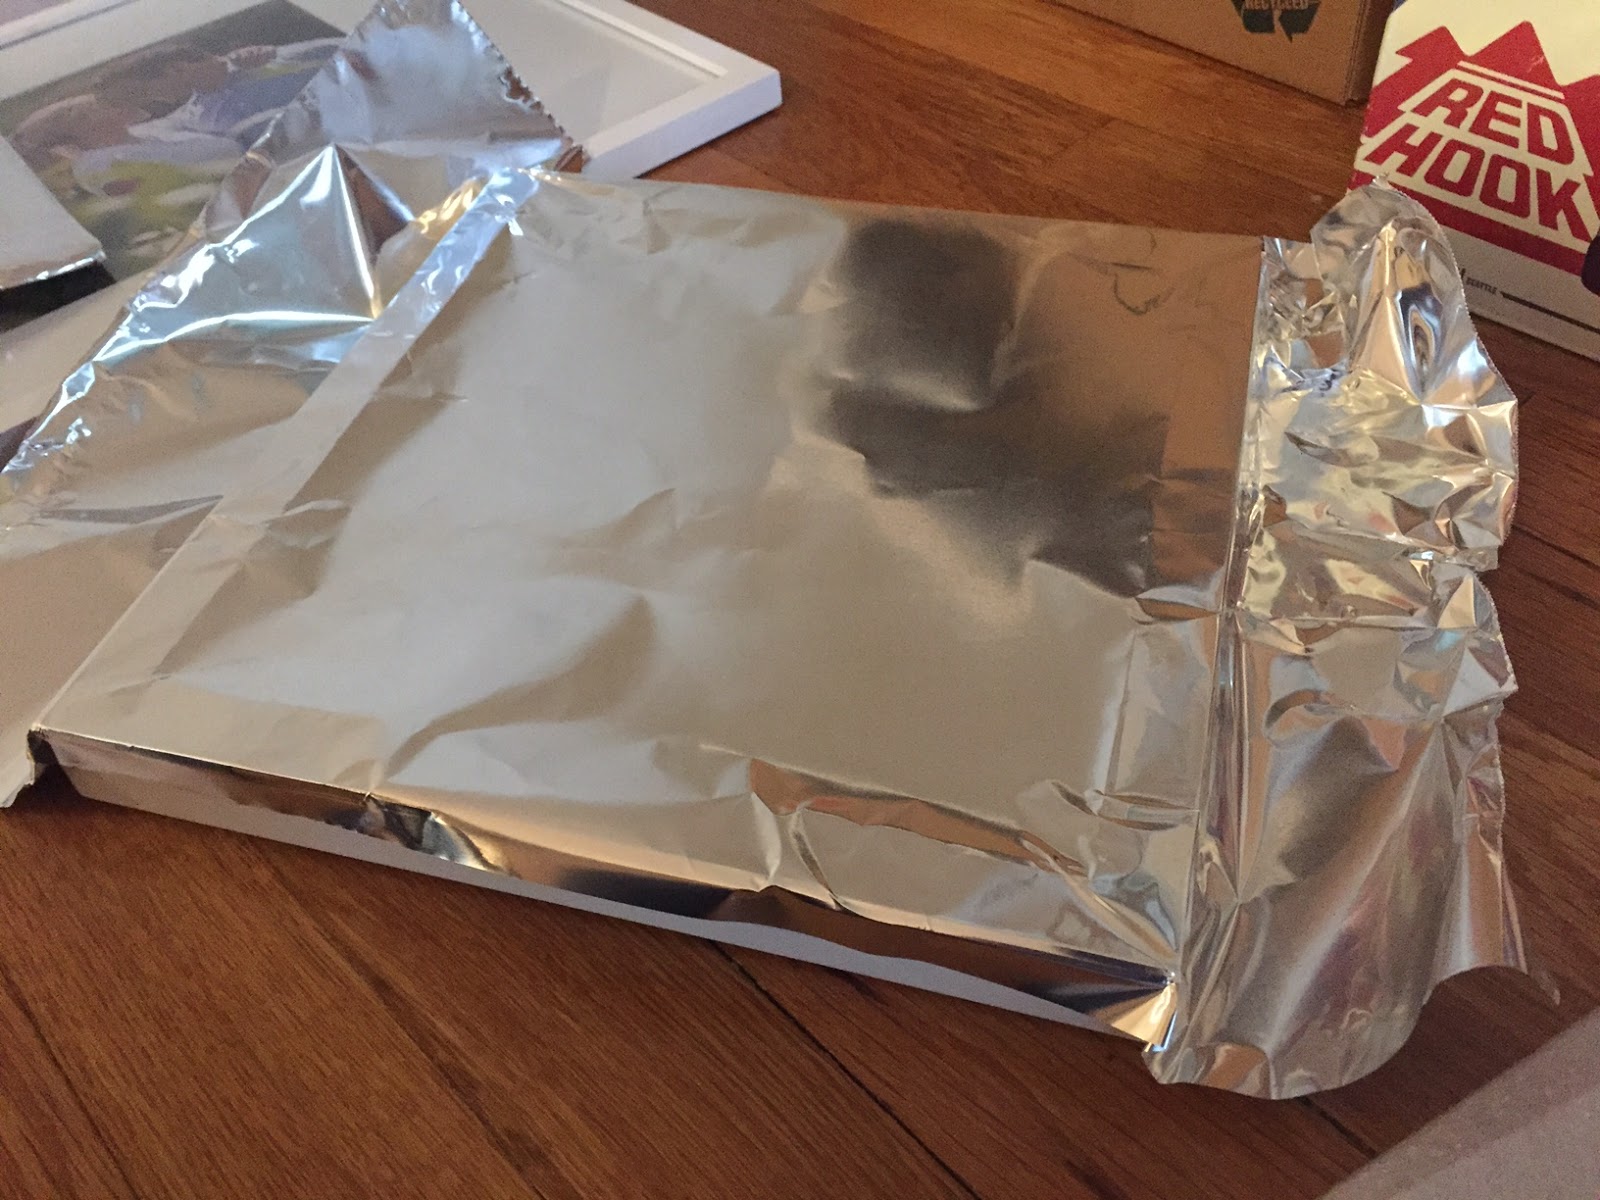

* Helpful hint: Use your sharpie to draw a rough estimate of the photo opening on the foil. Some of my frames have large mats, some small, some have 2 or 3 pictures per frame, so it's good to know how to distribute those elements evenly as you go along. I forgot to do this until the end.

Step 4. Put your frames in a safe place, and try not to pile them on top of each other because they'll chip or get dinged somehow. Been there.
Step 5. The design part. Gather all your foil squares and some painter's tape and start sticking.


Not quite sure why I look so fat in that picture. Unless it's true that art imitates life in which case...lol.
Anyway, it's a lot of trial and error, I'm not going to lie. You want to have all your shapes evenly distributed, with not too much space variance between all the frames. The painters tape really comes in handy here. I knew there was no way I was going to get all of these in a perfect block, so I decided that some jagged edges in the overall design were ok in the end.


See that posture? It says, "I'm not thrilled right now." When picture-hangers display this kind of negative attitude, send in children to slow things down. Heh heh.

This is accomplished by:
* having to explain what he is doing
* having to explain why he is doing it
* children then wanting their own tools and belts
* using said tools to bang obnoxiously on the walls and the floors
* leading imaginary repairs on the step stool.


We got about half way through before kick off. The next set of installations went similarly, and in fact, if you want to know why things take 150% longer when you have kids, watch this video. "Your drill is going there, brotha!" I was dying laughing.


Step 8. Admire your before and after!


It's not perfect but it's perfect enough. That blue dotted tape line marks the top of the chair rail/board and batten/wainscoting/whatever I eventually decide on for the bottom section of the wall. It's going to go around the whole room and up the stairs. Someday! Jason's sort of busy ;)
No comments:
Post a Comment